
React Native offers a straightforward API, AppState, to help developers track and respond to changes in an application’s lifecycle, specifically when the app moves between foreground (active), background, or inactive states. Understanding and effectively handling these states ensures a better user experience, conserves resources, and maintains data integrity.
Understanding App States
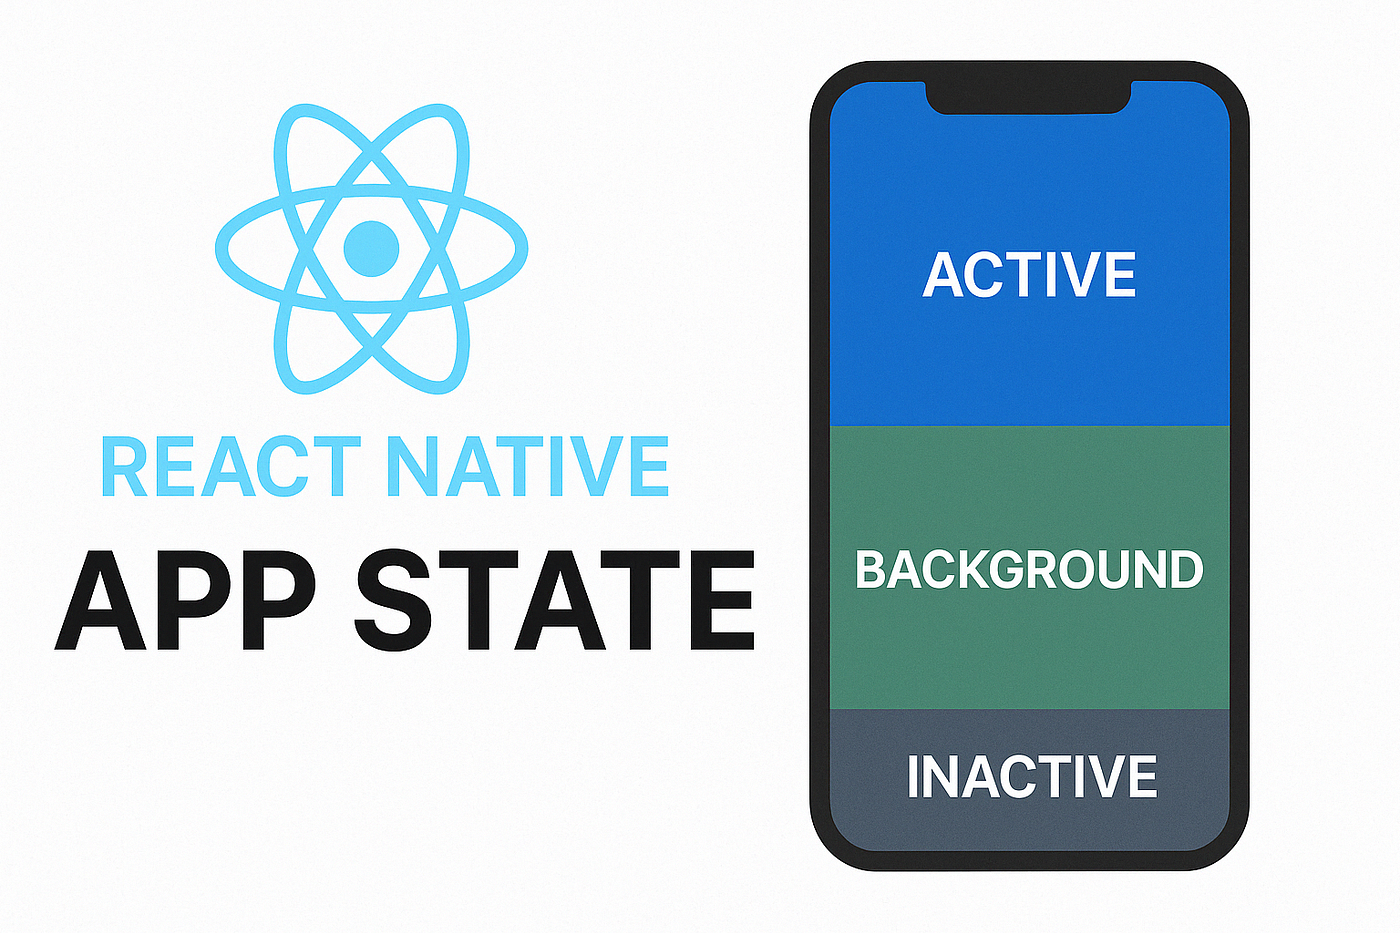
React Native applications can exist in three primary states:
- Active: The app runs in the foreground, and the user interacts with it actively.
- Inactive: The app is running in a transitional state, such as when receiving a call or notification.
- Background: The app is running but not actively visible to the user. Tasks like fetching data or receiving location updates can still run.
Platform-Specific Notes
- ios: All three states (
active,inactive, andbackground) are supported and accurately reflect transitions like incoming calls, Control Centre usage, etc. - Android:
inactivestate is typically not emitted. Android transitions directly betweenactiveand background states, skipping the transientinactivephase.
This means on Android, you will mostly handle only active and background states.
Using the AppState API
To leverage the AppState API, first import it:
import { AppState } from 'react-native';
Setting Up AppState Listener
Here’s a basic setup to listen to app state changes:
import React, { useEffect, useState } from 'react';
import { View, Text, AppState } from 'react-native';
const AppStateExample = () => {
  const [appState, setAppState] = useState(AppState.currentState);  useEffect(() => {
    const subscription = AppState.addEventListener('change', nextAppState => {
      console.log('App State changed to', nextAppState);
      setAppState(nextAppState);      if (nextAppState === 'active') {
        // The app has come to the foreground, refresh data or UI
      } else if (nextAppState === 'background') {
        // The app is in the background, save state or pause tasks
      }
    });    return () => {
      subscription.remove();
    };
  }, []);  return (
    <View>
      <Text>Current AppState: {appState}</Text>
    </View>
  );
};export default AppStateExample;
Best Practices for Managing App State
Refresh Data Upon Active State
When an app moves back to the active state, it’s common practice to refresh data or UI elements to ensure the user sees up-to-date information:
if (nextAppState === 'active') {
  fetchDataFromServer();
}
Saving Data or State in Background
When the app enters the background, consider saving critical information or pausing resource-intensive tasks:
if (nextAppState === 'background') {
  saveUserProgress();
  pauseMediaPlayback();
}
Handling Inactive State
An inactive state is often transient, so typically minimal handling is necessary. Still, logging or minor adjustments can be beneficial:
if (nextAppState === 'inactive') {
  console.log('App transitioning between states');
}
⚠️ Note: Inactive state callbacks may not trigger on Android. Ensure you test and tailor behaviour accordingly.
Common Use Cases
- Pausing and resuming media playback: Stop media when the app moves to the background and resume upon activation.
- Session management: Prompt for authentication when users return after a certain inactive duration.
- Resource optimisation: Suspend unnecessary tasks or services when in background mode to conserve battery and resources.
Conclusion
Efficiently managing app states in React Native enhances application responsiveness, conserves system resources, and significantly improves user experience. Utilising the AppState API is straightforward, yet immensely powerful, ensuring your app behaves predictably across various lifecycle events.
Before you publish, make sure to:
- Test on both ios and Android for differences in state transitions.
- Handle potential edge cases gracefully.
- Use feature flags or platform checks if behaviours differ.
📌 Pro Tip: Use
Platform.OS === 'ios'or'android'to manage platform-specific logic when needed.